
Watercolor Pouring and Masking Portrait Art Lesson
 Are you or your students super tight when it comes to painting? I know I am!! Trying to loosen up a “tight” painter is HARD to do-it takes practice, trial & error.

This HS art painting lesson is a great exercise in loosening up and letting go of control. We learned how to draw correct adult facial proportions PRIOR to this project and then jumped into reviewing Positive & Negative Space and experimenting with watercolors (which was super FUN!).
Resources: Easy Watercolor Portrait by Do Small Things with Love, http://www.craftster.org/forum/index.php?topic=301135. (more resources/examples at end of post)
Overall Objectives: Students will review positive and negative space. The will use a photo editing program to transform a portrait to show high contrast values (black or white only). They will experiment with different watercolor techniques such as pouring, masking and splattering.
Lesson 1: Extreme Positive & Negative Space Portrait
Delivery:
- Define Space-the element of art that refers to the emptiness or area above, below, between, within, and around objects.
- Positive Space-the shapes or forms (main objects) in an artwork
- Negative Space– the empty or non-interesting space between and around the main objects
- Show images with high contrast of values (black or white only).
- Teacher Guided Demonstration on how to:
- Turn a picture into a digital image (if photo is in print form-scan or take digital photo).
- Use photo editing software to reduce the image to a black and white image (not gray-scale). Step by step instructions below for iPad using www.FreeOnlinePhotoEditor.com
 Activity: (3 -45 min classes) Edit & Draw Portrait
Create an accurate drawing of a person (from shoulders up) from a frontal or 3-quarter view. The picture needs to show a high contrast of values (black or white only).
Instructions:
- Find a picture or take a picture of a person (from shoulders up) from a frontal or 3-quarter view.
- Turn to the picture into a digital image (if photo is in print form-scan or take digital photo of it).
- Use photo editing software to reduce the image to a black and white image (not gray-scale).
- www.FreeOnlinePhotoEditor.com
Instructions (for iPad):
1. Find a photo (frontal or ¾ view)
2. Save photo to Photos App (tap on picture & hold until “save image” button pops up
3.Open www.FreeOnlinePhotoEditor.com
4. Click on “Browse”, from Photo Library. Click “OK”
5. click on “Color”-> Black/White
6. Click on “Basic” -> Brightness/Contrast
7. Adjust the Brightness & Contrast until you are happy with the image.
8. To save the image – tap on picture & hold until “save image” button pops up, “Save Image”
9. Print the Picture-open Photos, open picture, click on the share icon
and select Printer
- www.FreeOnlinePhotoEditor.com
- Print out picture as an 8×10.
- Draw the picture (Contour Line ONLY) onto 10×15” Watercolor Paper. (1.5x the size of the 8×10)
Supplies: computer or tablet, 10×15″ Watercolor Paper (140 lb recommended)-Canson Bound Watercolor Pad, 30-Sheet, pencil

Lesson 2: Watercolor Pouring Experiments (2 or 3 -45 min classes)
Objective: Students will experiment with pouring watercolors. They will play with what color combinations work best or create the look they are going for.
 Delivery: Teacher Guided Demo-Watercolor Experiments & Pouring Practice Worksheet
- How to use Masking Fluid to “Save the Whites”- How to use masking fluid & rubber cement
- Wet on Wet, Dripping wet into wet
- Wet on Dry
- Salt in Wet
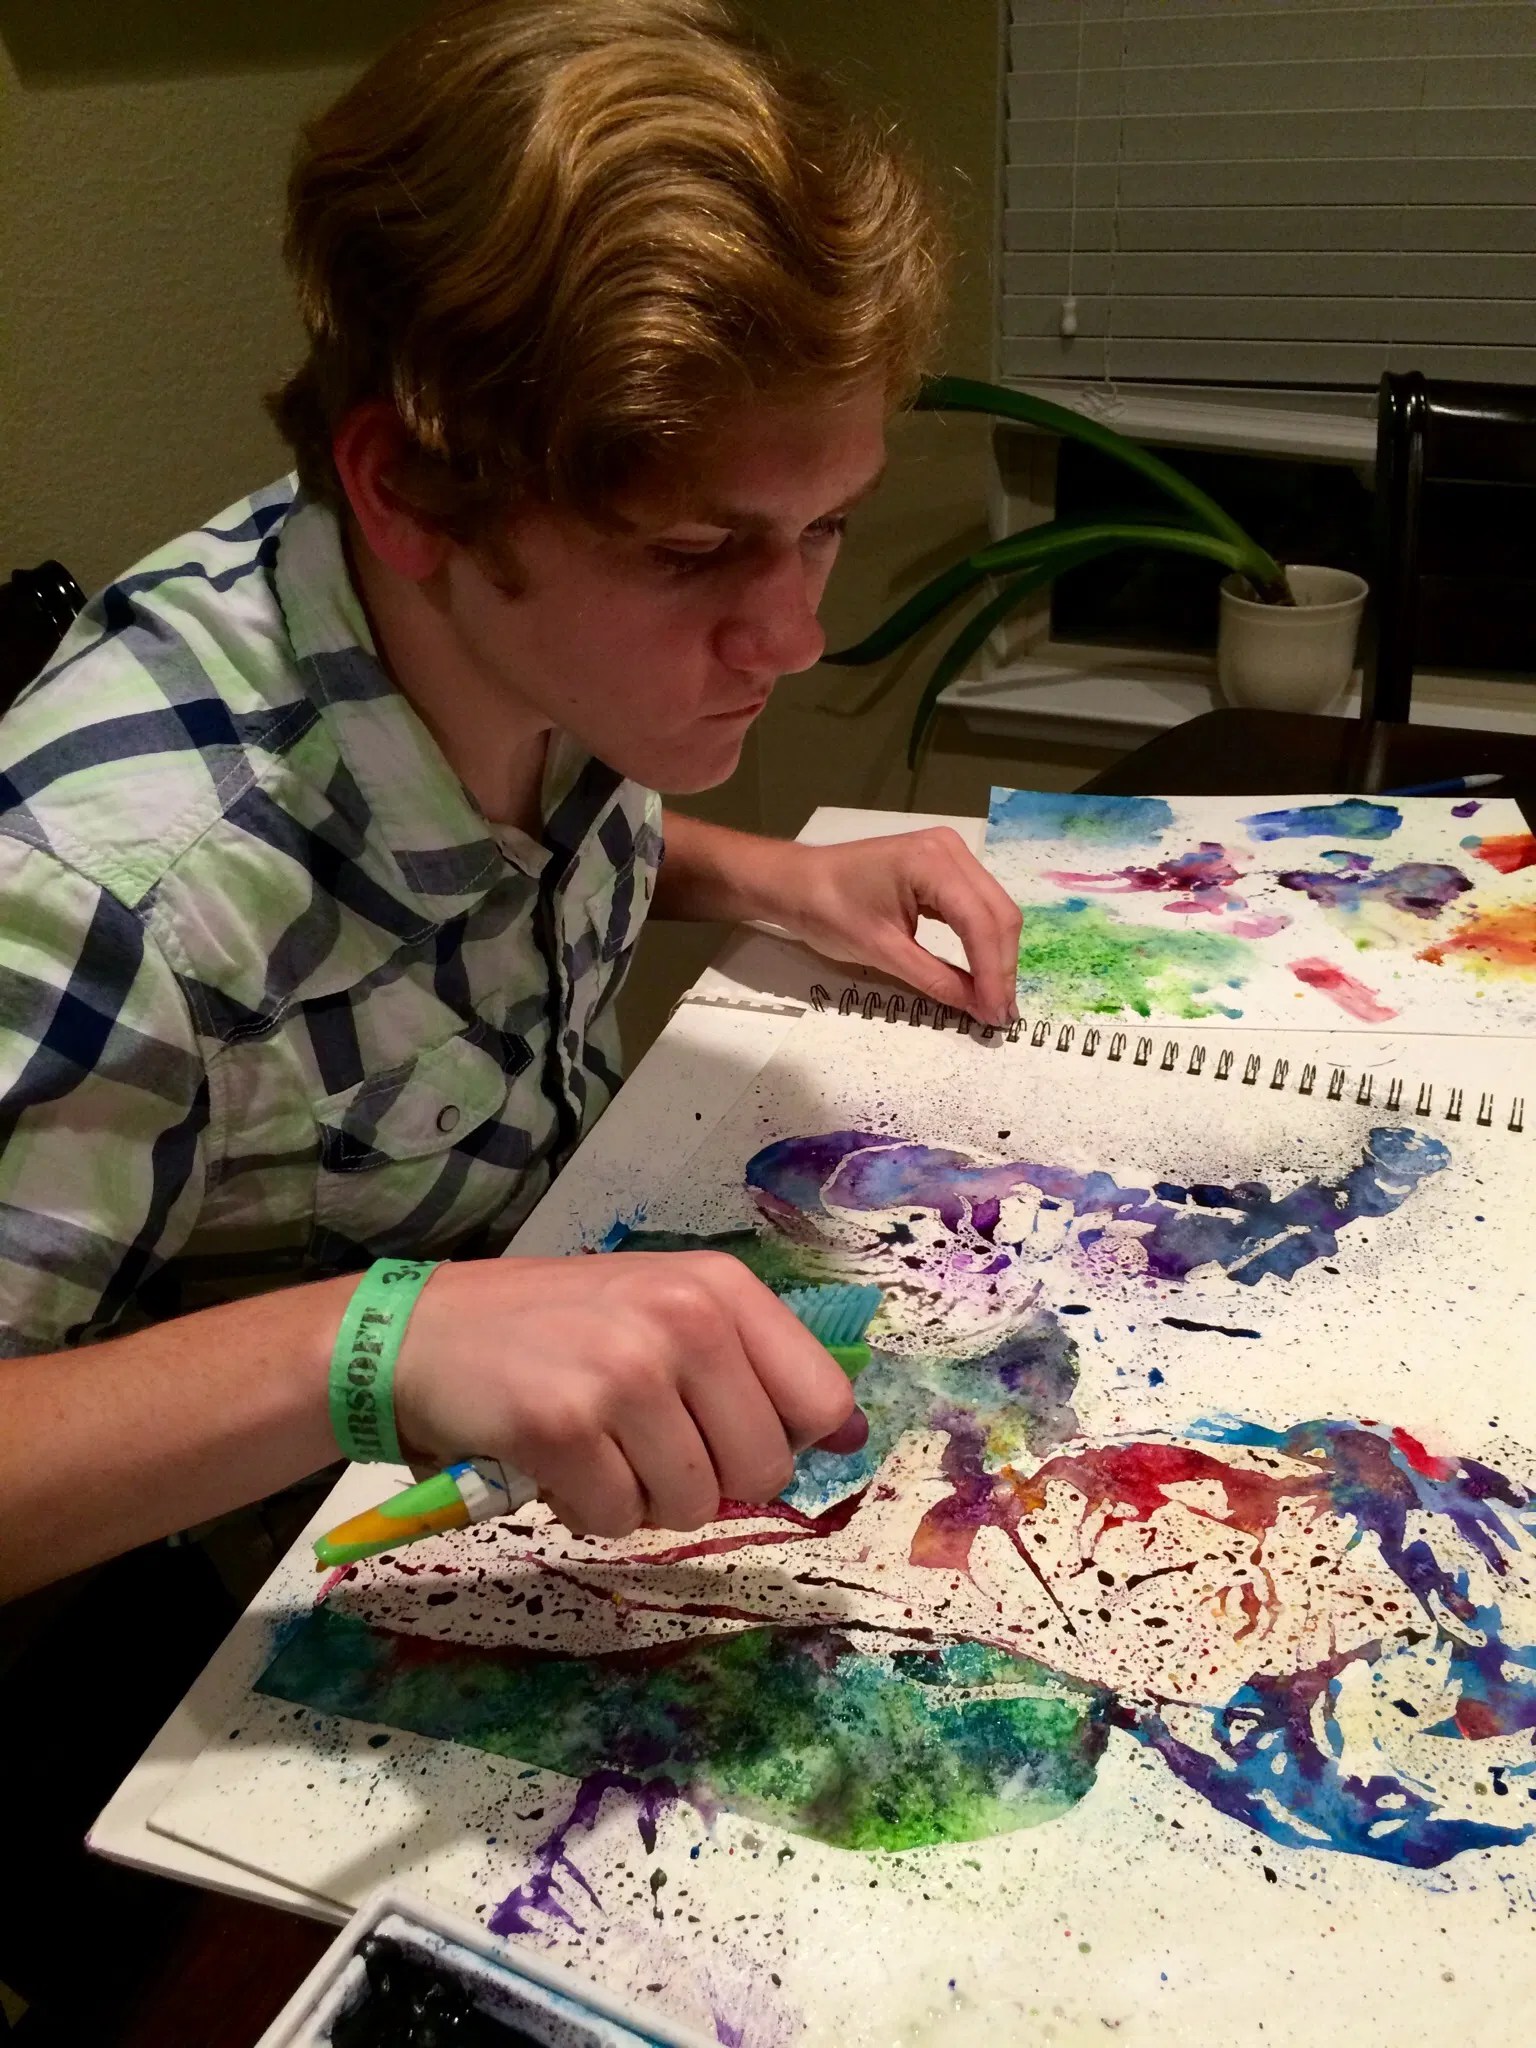
- Splatter
- Spray the paper with water before and after applying the paint
- Experiment with pouring watercolors.
- Experiment with color combinations (remember analogous colors work & blend well together-harmony; complementary colors blend to make dull values-contrast, dark mood)
Materials: Tube watercolors in liquid form or Liquid Watercolors-Sax Concentrate Washable Liquid Watercolor Paints – 8 Ounce – Set of 8 – Assorted Colors, small plastic cups for pouring (3-5 per student), masking fluid, rubber cement, tooth brushes or denture brushes, Watercolor Experiments & Pouring Practice Worksheet printed on watercolor paper cut to 8.5×11″

 PROJECT: Watercolor Pouring and Masking Portrait Project

Project Objective: Create an accurate portrait of a person from a frontal or three quarter view point. Exaggerate the positive and negative space by creating a high contrast image. Use various watercolor techniques (masking fluid & rubber cement, pouring, salt, splatter) to color the portrait.
Instructions:
- Find an image of a person from a frontal or three quarter view point.
- Use photo editing app to exaggerate the positive and negative space by creating a high contrast image.
- Draw the image LARGE on the Watercolor Paper in pencil.
- Apply Masking Fluid & Rubber Cement anywhere you want to stay WHITE. **TIP: Apply 2-3 coats of the Rubber Cement. One layer is not thick enough!!! Also, be careful of the brand of masking fluid-the kind we used stained the paper yellow 🙁

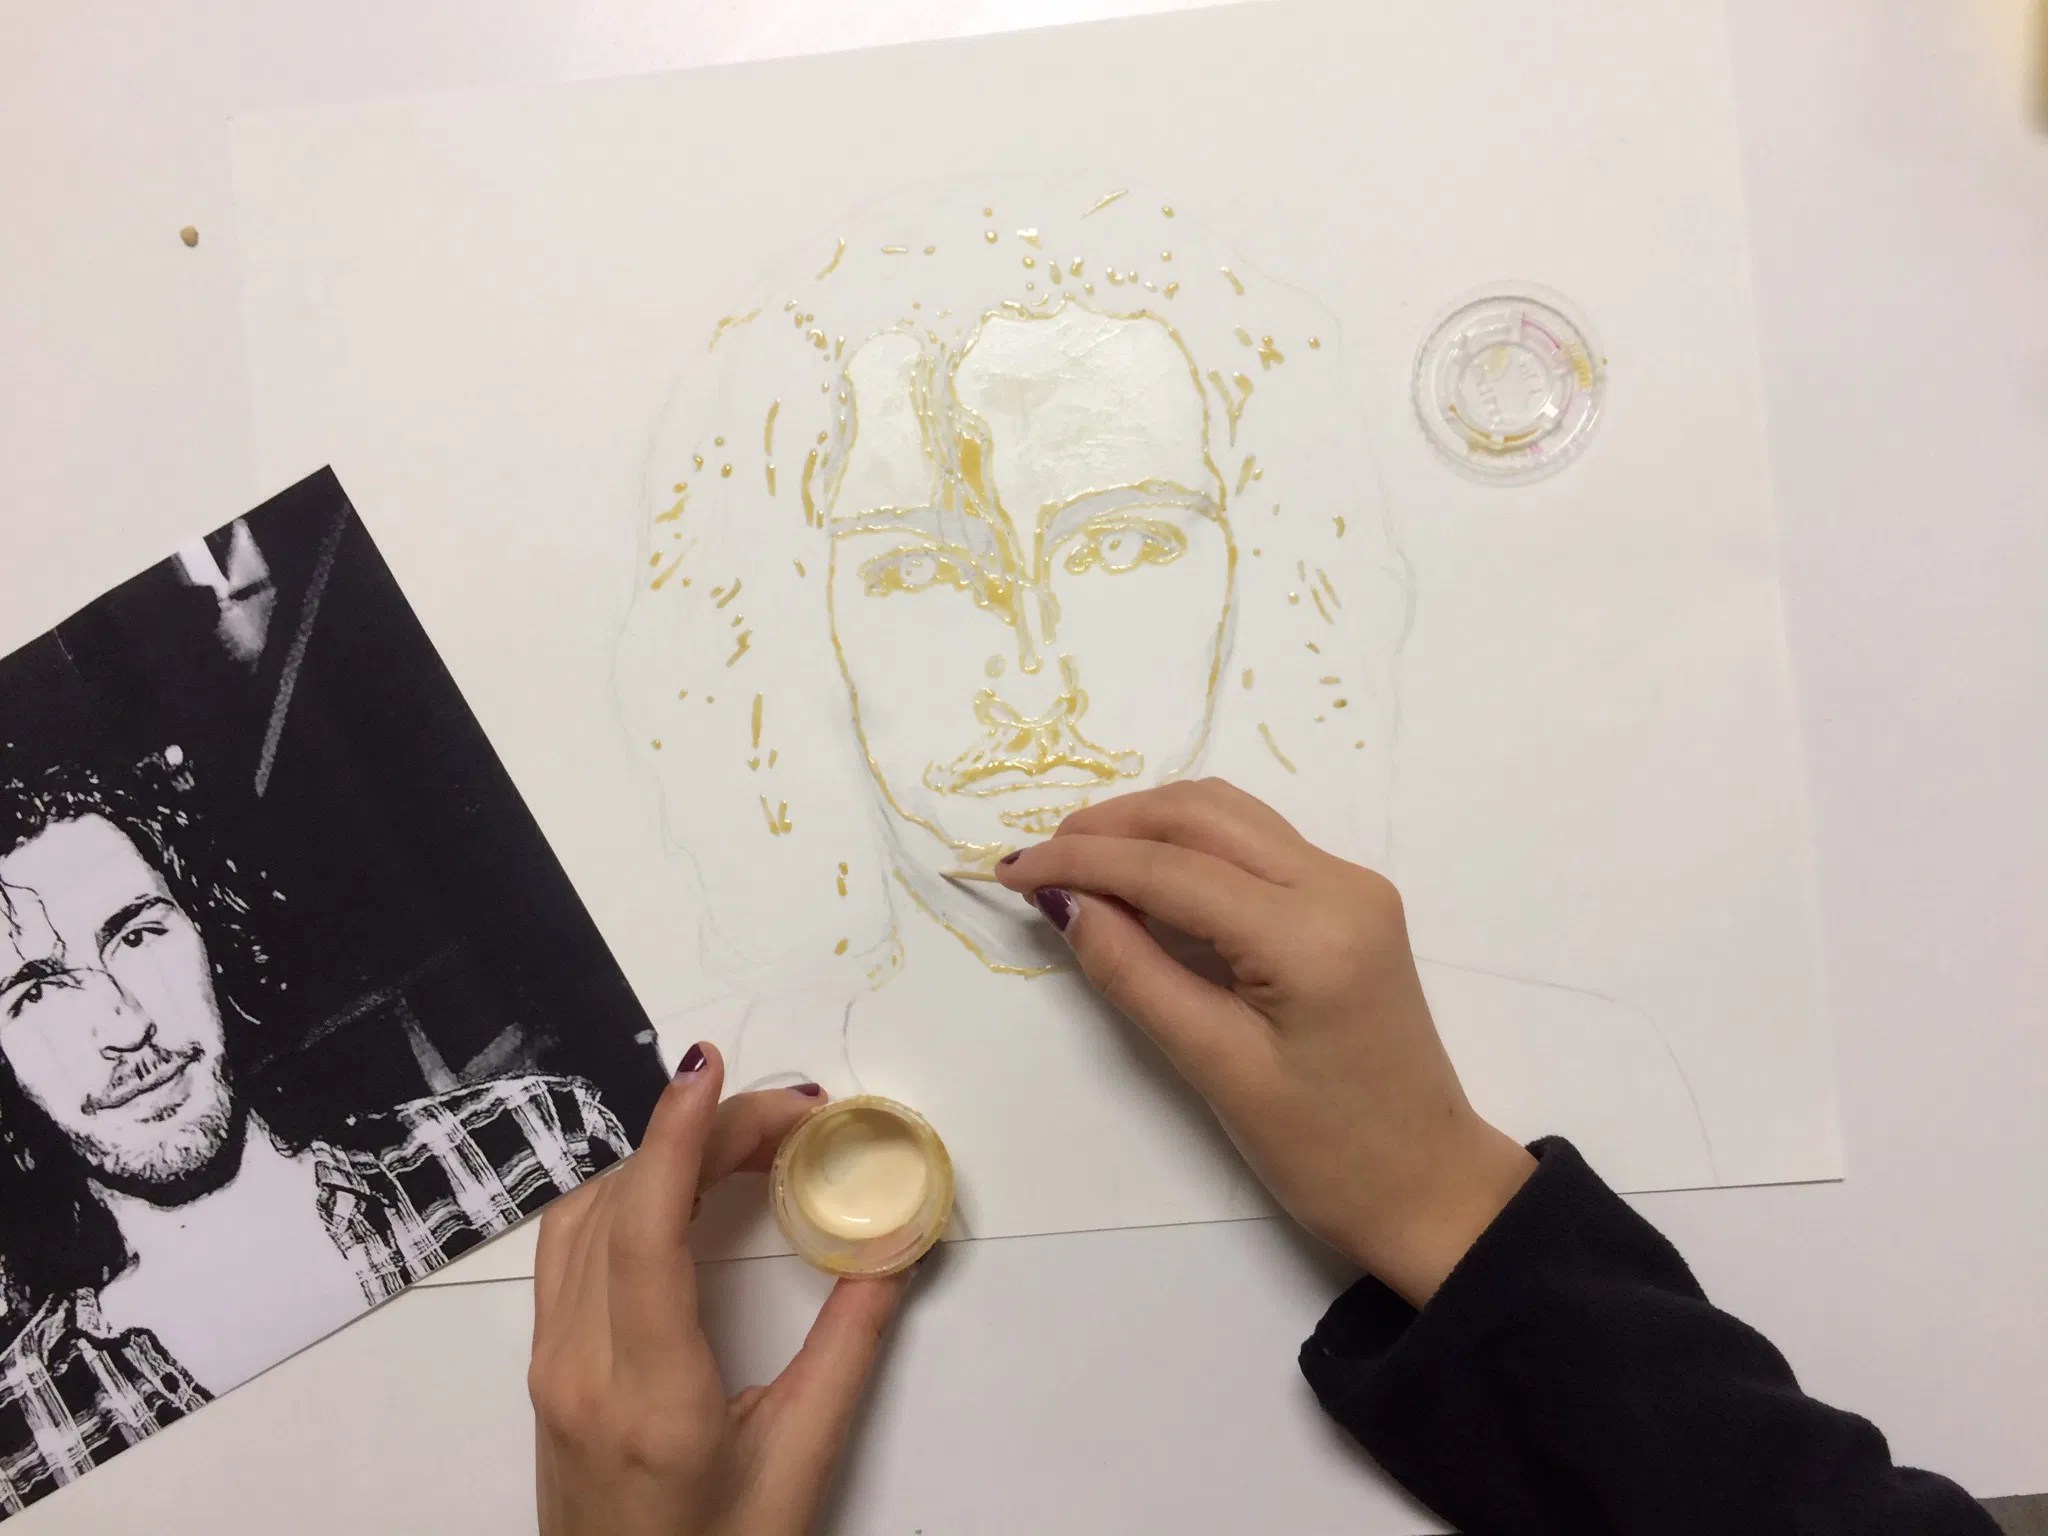
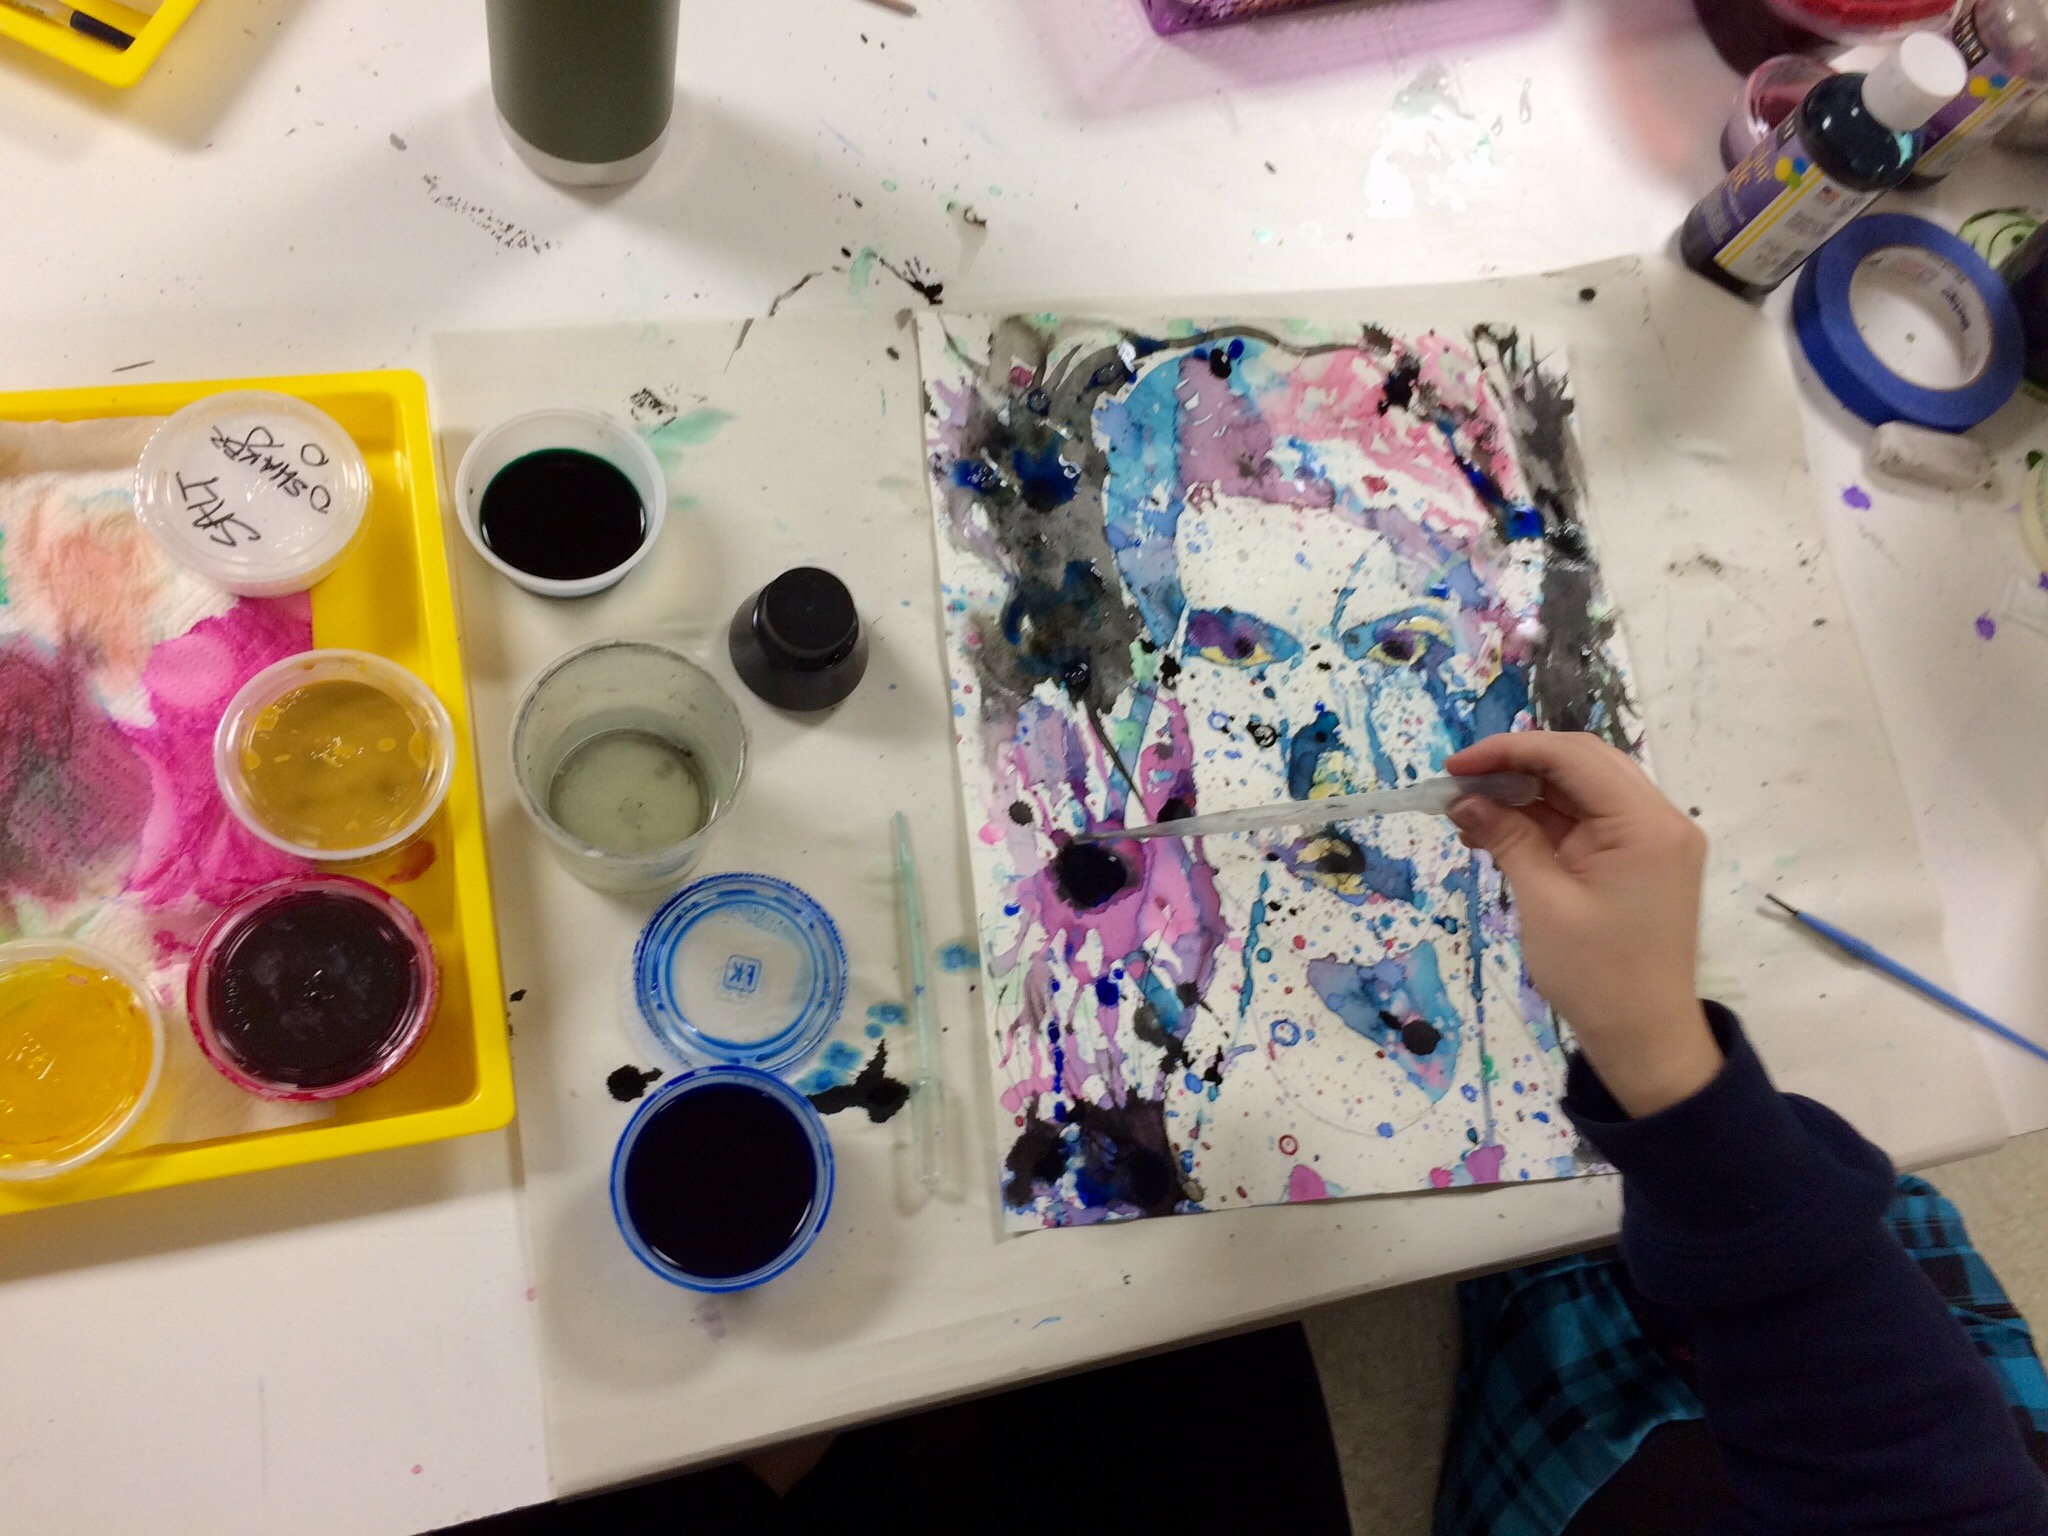
5. Use various watercolor techniques to paint the portrait:
- Masking Fluid & Rubber Cement (on ALL areas to stay white)
- Pouring
- Dripping
- Splatter
- Salt
- Spray (with water)
- Splatter
- Finally, when it is completely dry, remove masking fluid.
- Optional: Use a paintbrush to define some areas. Add in some India Ink for interest (ex: eyes)-use this on a limited basis.
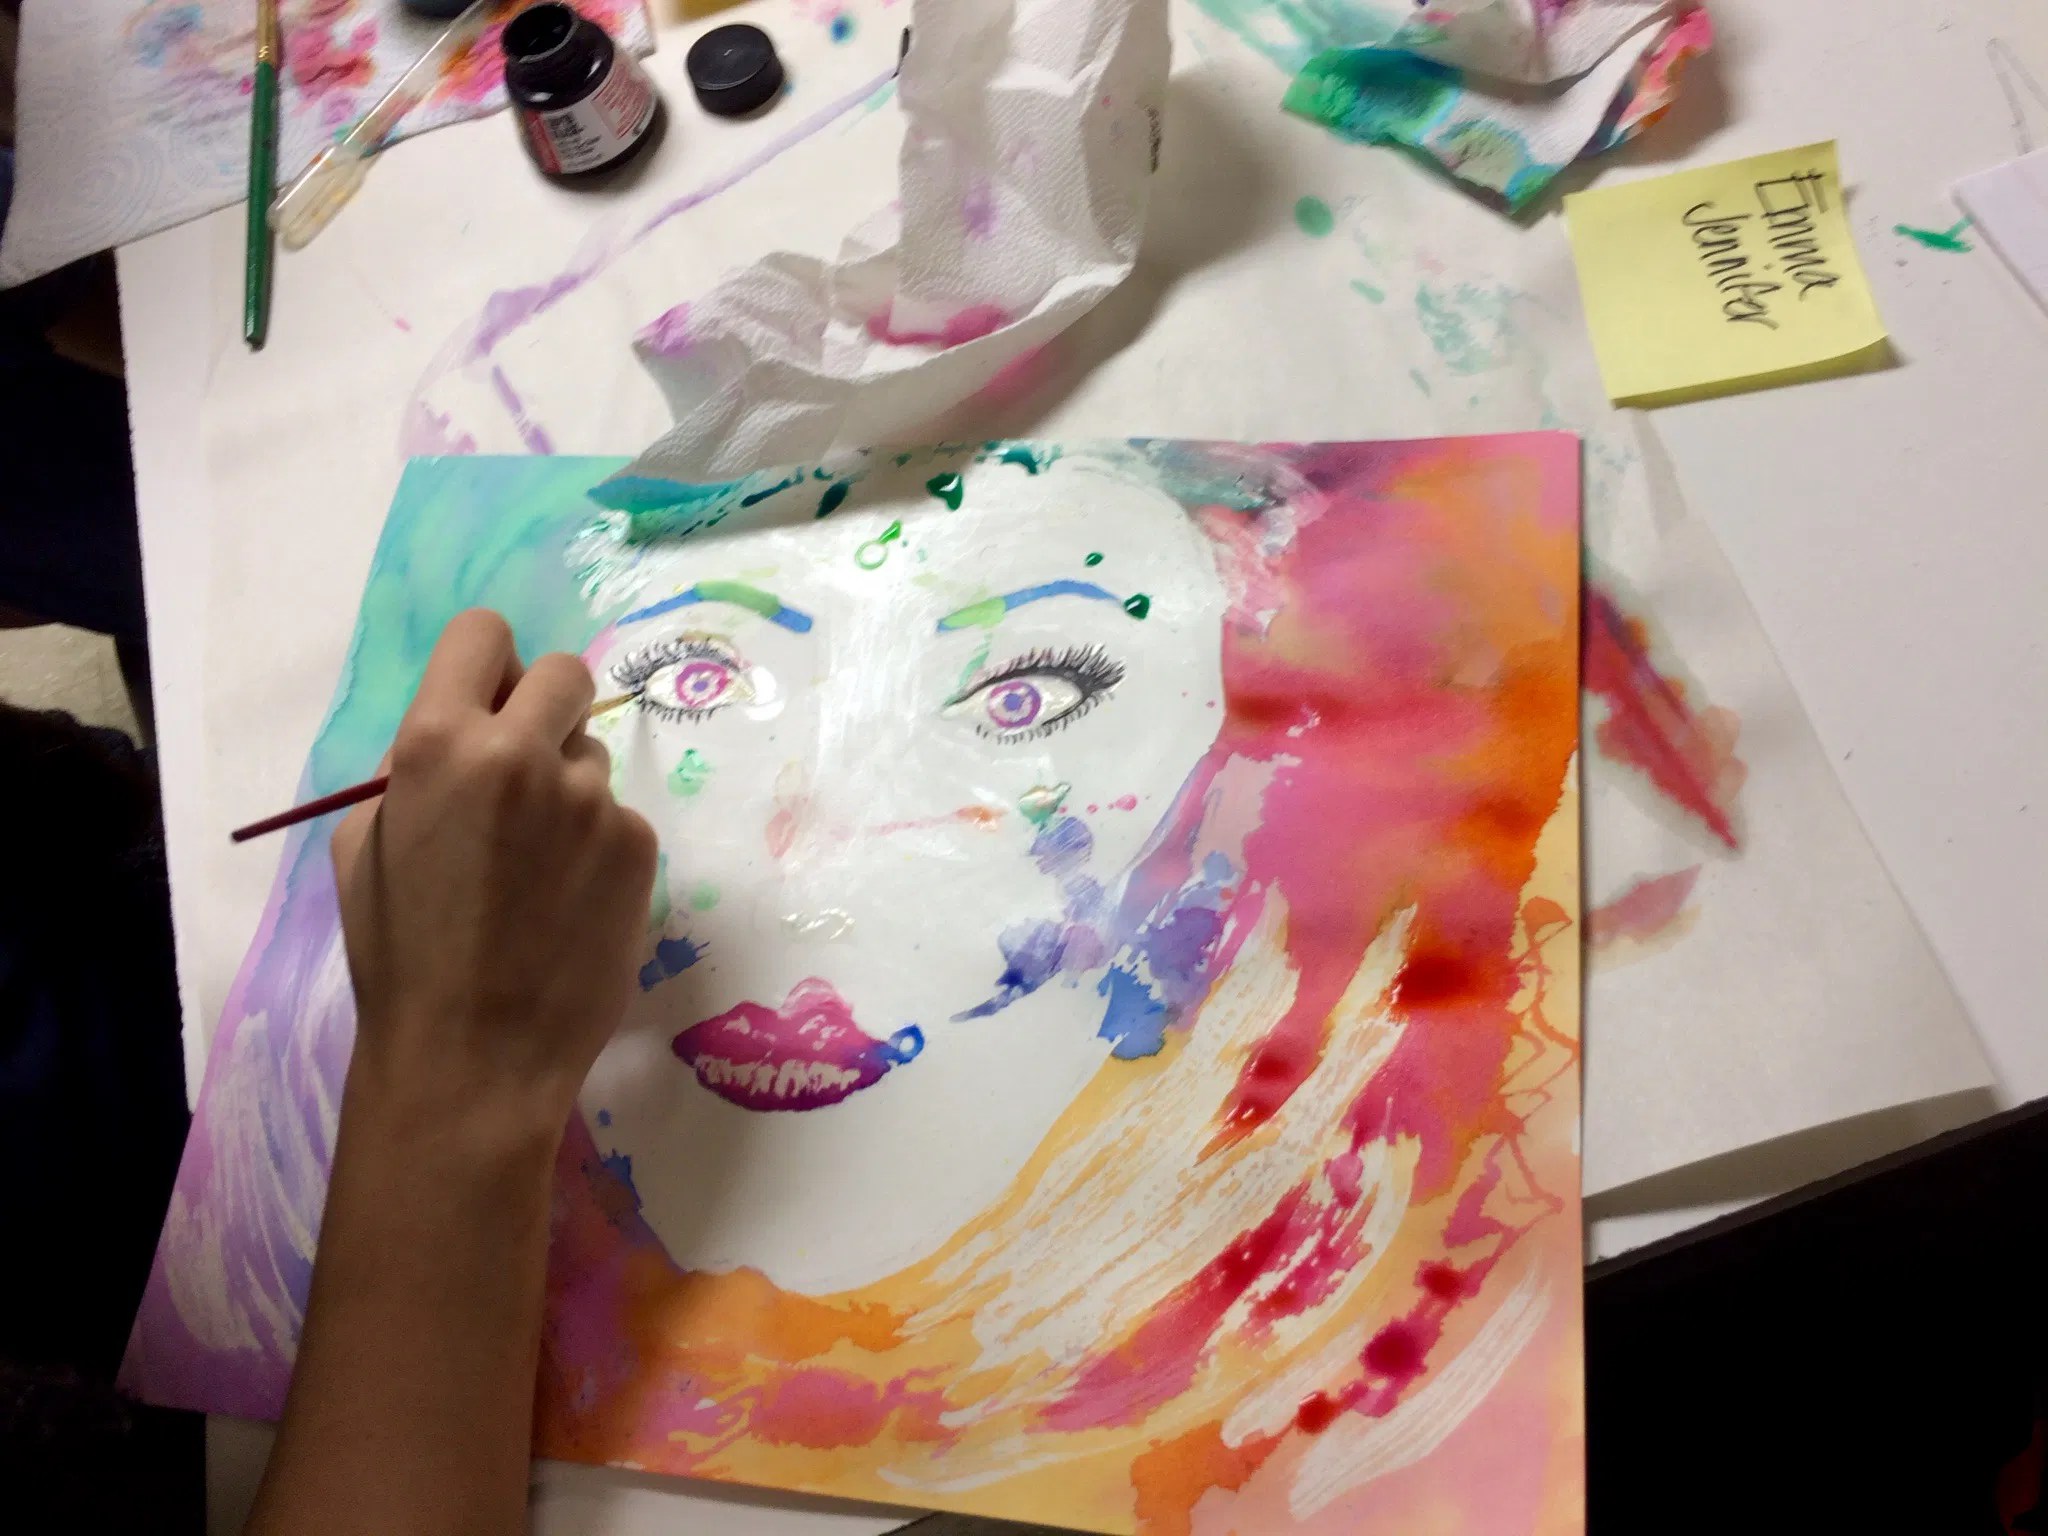

Student Artwork: (click on picture for full view)


Additional Resources for this lesson:
Additional Artwork by Parr on Esty silverridgestudio
Watercolor Stencil Portrait + TUTORIAL
Unknown Artist Self-Portrait (great example)
Jimi Hendrix Time Lapse Project (Melted Crayon Art with Masking)
Additional Watercolor Technique Worksheets
Basic Watercolor Painting Techniques Lesson Plan & Worksheet
If you choose to use or share any of this post, please link back to my blog Create Art with ME!


